Interactive Tailor#
In this example, you will learn how to HiPhyEngine to tailor a sleeveless shirt for simulation interactively.
This tutorial reqruies HiPhyEngine v1.4.0 and above.
We will start with the Blender file here. The file already contains the cut patterns, we will only demonstrate how to use HiPHyEngine to tailor the cloth.
The example has already setup a solver with some basic parameters. We assume that user is already familiar with some of the basic concepts in HiPhyEngine.
We have setup a rest shape body.rest. During interactive simulation, the simulation object will deform, so, we will need a rest shape to keep track of the rest shape of the simulation object.
Step 1: Add Constraints#
-
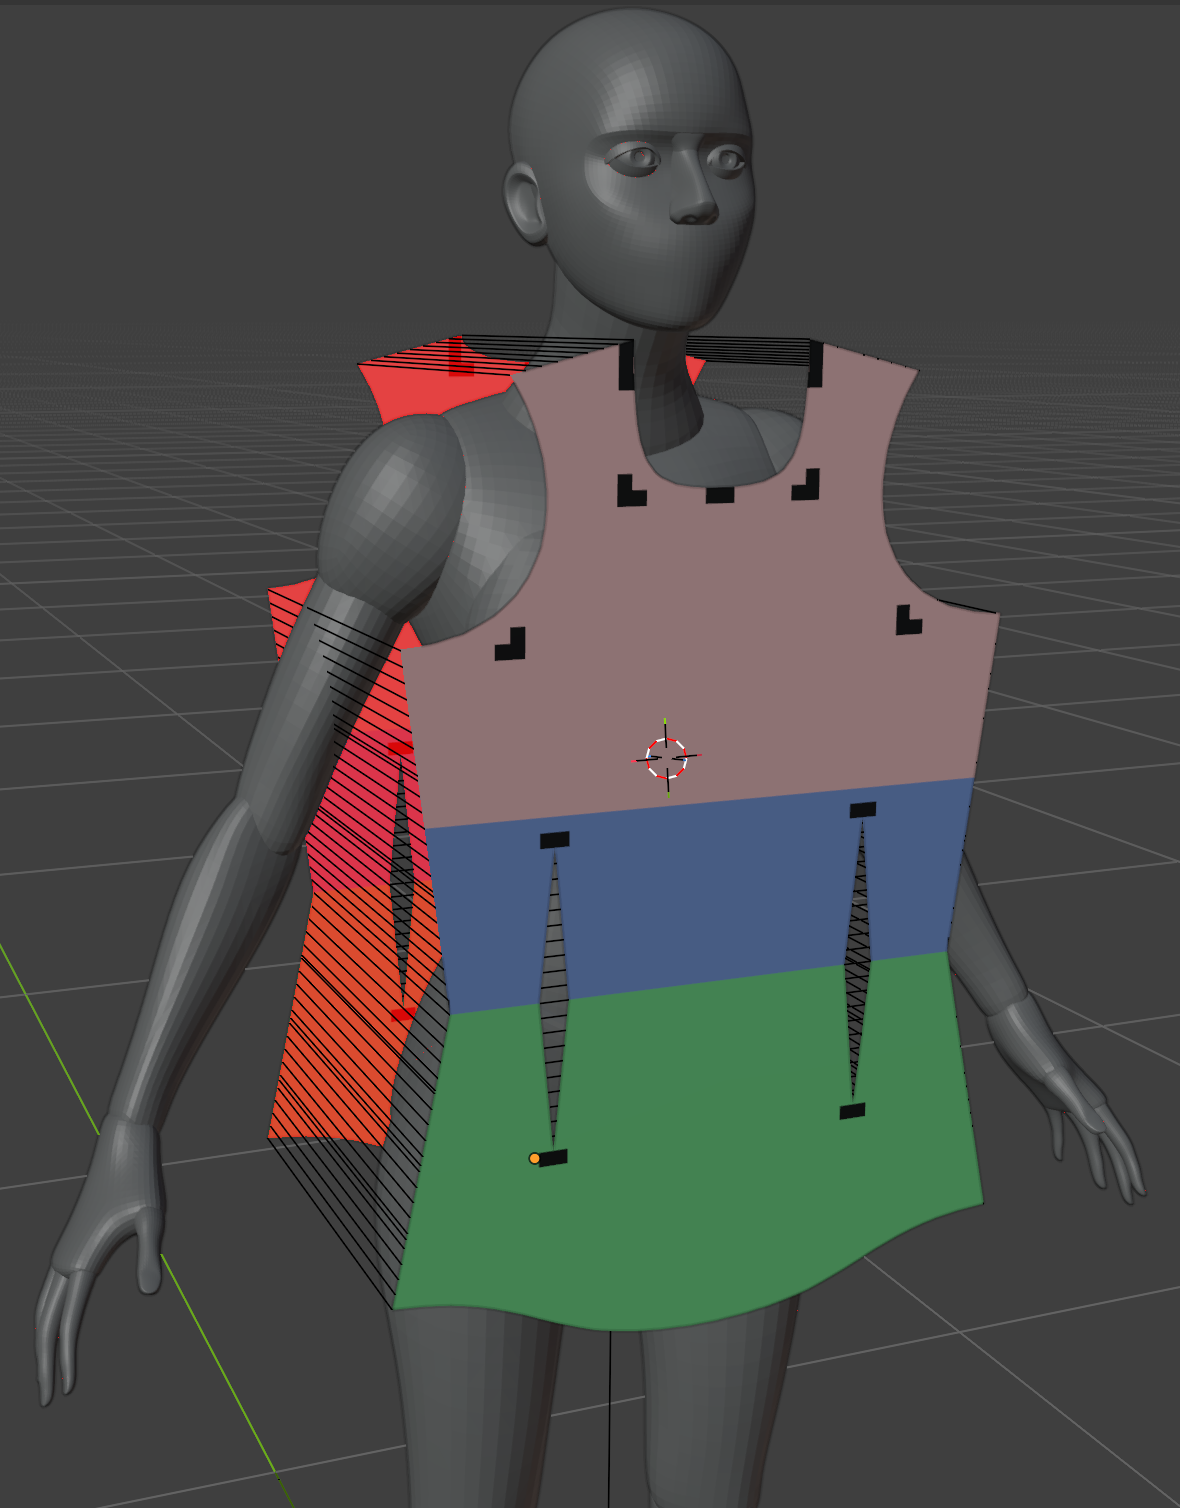
Select body.sim, right click->HiPhy Constraints->HiPhy Convert Edges To Binding Constraints.
-
Check Override Restlength, use 0 as the rest length.
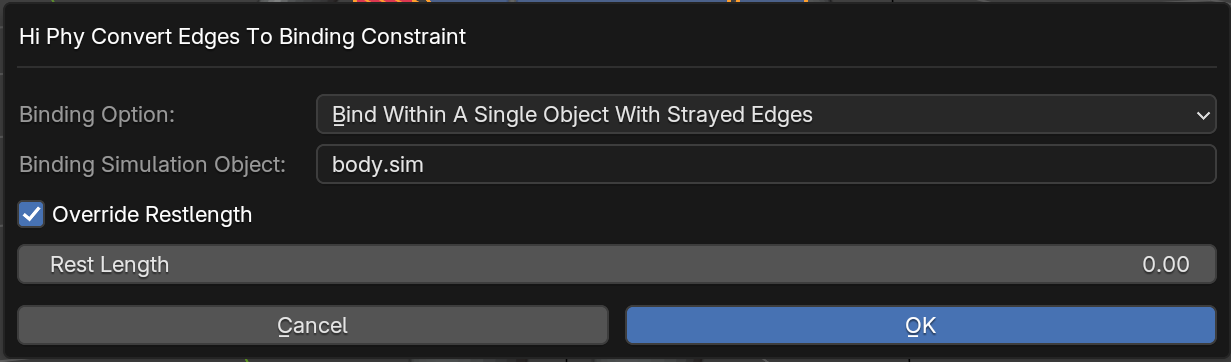
-
Rename the newly created constraint object to stitches
-
Check Disable Collision Between Constrained
-
Set Max Stiffness Distance to 0.01
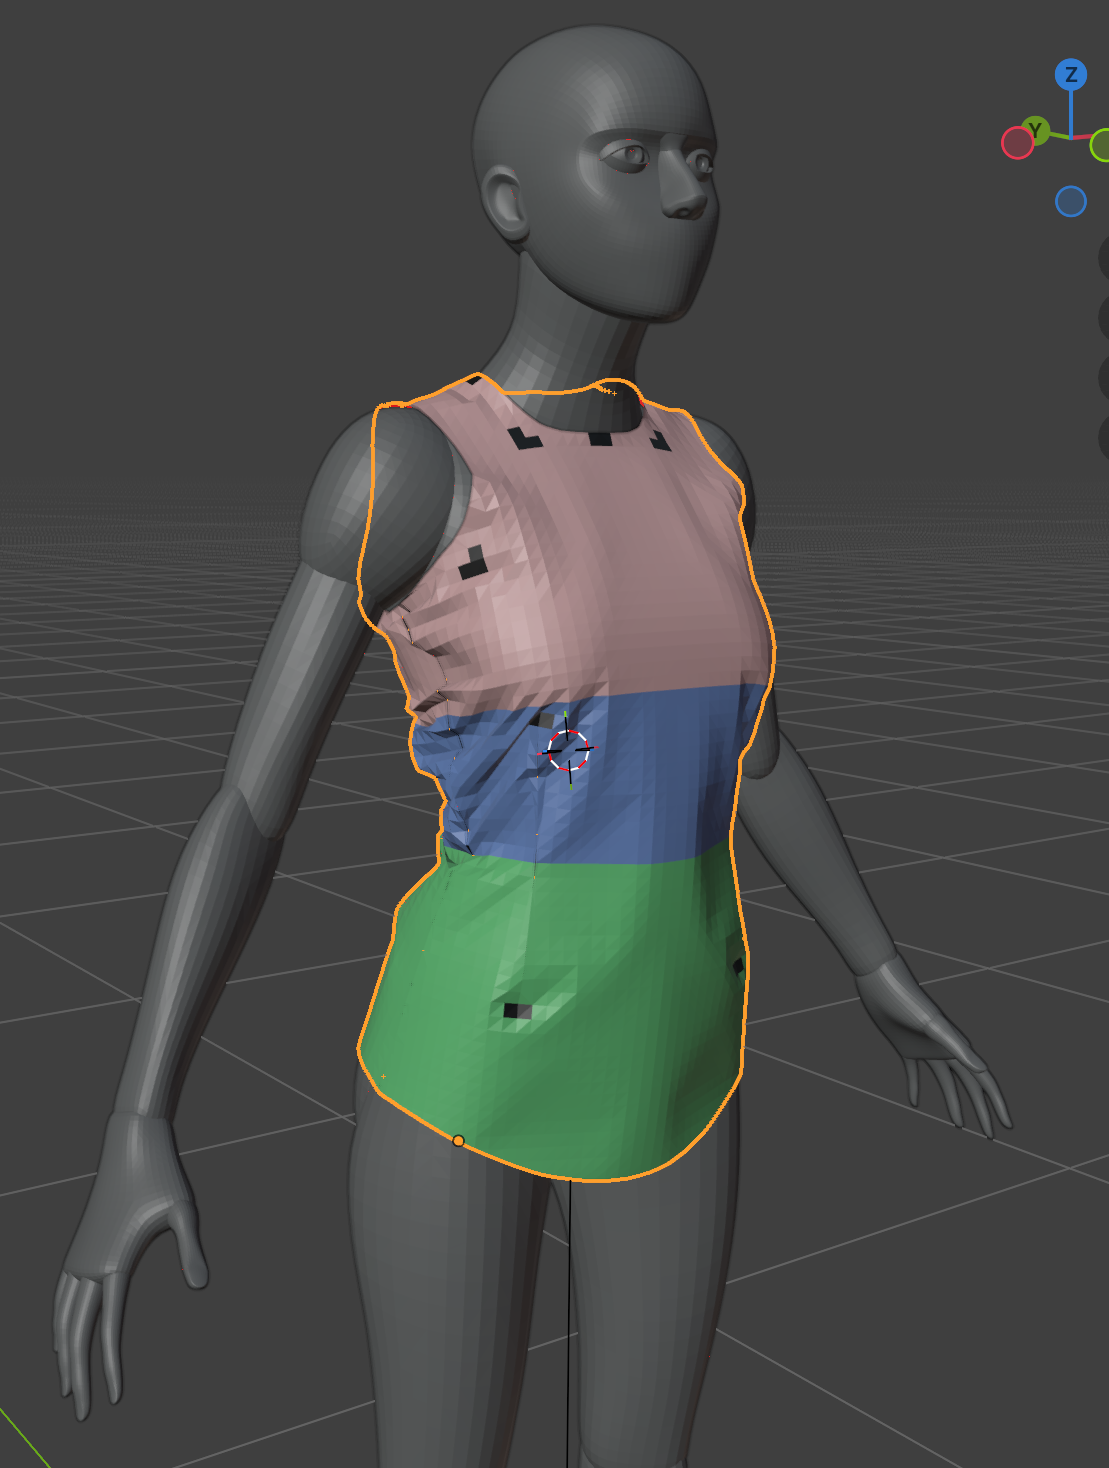
Now, go to solver, you can run the simulation interactively by clicking the Run Sim Interactive to run the simulation, and how let the simulation runs through.
Step 2: Tuning parameter and add gravity#
We are going to tune the parameters and add gravity next. You can leave the simulation running while change the parameter, or you can stop/restart the simulation after change the parameters.
-
Select stitches
-
Change the Constraint Stretch Stiffness to 100000
-
Change the Constraint Damping to 10
-
Change the Max Stiffness Distance to -1
Constraint stiffness
The current constraint stiffness is not enough to hold up the shirt, so we need to increase the stiffness to hold up the shirt. The increasing of damping is to prevent the oscillation caused by the high stiffness
-
Select body.sim
-
Change the Gravity to (0, 0, -980)
That's it! You can play with the parameters yourself and find a better simulation parameters
Step 3 (Optional): Interactive constraint#
In this step, we will show how to use constraints to interactively move the cloth around.
- Select body.sim, and goto edit mode and select a few vertices.
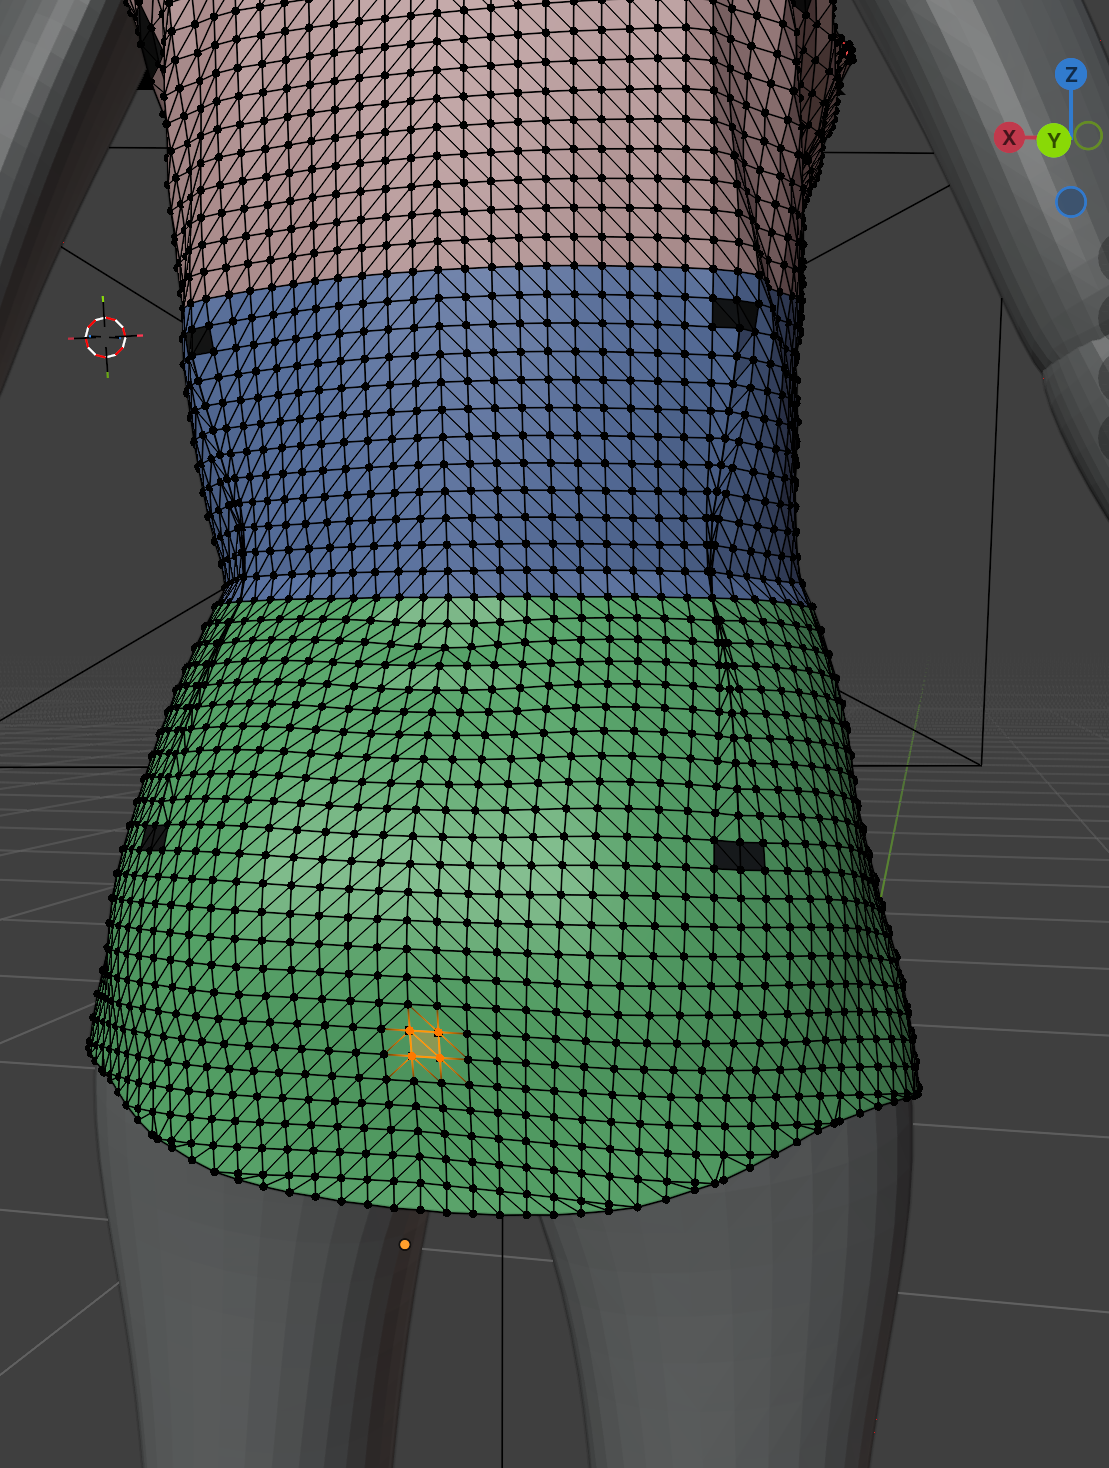
- right click->HiPhy Constraints->HiPhy Create Point Constraints
Now if you run the simulation interactively, you can select the point constraint and move it around with the move tool and see the simulation reacts to the moving constraint.